Patagonia Itinerary: The Ultimate Two-week Backpacking Trip

I spent countless hours researching how to spend two weeks backpacking in Patagonia. I decided I did not want to go to Torres del Paine because of how popular and built up it has become (and that was even back in 2017).
Want help planning your trip?
I am a travel advisor with Fora and would love to help you plan your next vacation! Send me a message here today!
I’ll share with you my original backpacking route from 2017. I’ve been back in the area many times since then to provide updated information and transportation has become a bit easier.
I completed this route without a car, relying only on public transportation with a couple short hitchhiking portions. I’ve hitchhiked a lot in Chile and have never had any negative experiences, but always trust your gut and do what you’re comfortable with.
The TLDR Version
This post in about 50 words:
I recommend you skip Torres del Paine if you’re looking for a more authentic, less built-up Patagonia route. Start in Coyhaique, Chile, do the Cerro Castillo Hike, then continue to the end of the Carretera Austral in Villa O’Higgins. From there, you can take a ferry and hike across the border to Argentina to spend a few days hiking or backpacking in El Chalten, Argentina.

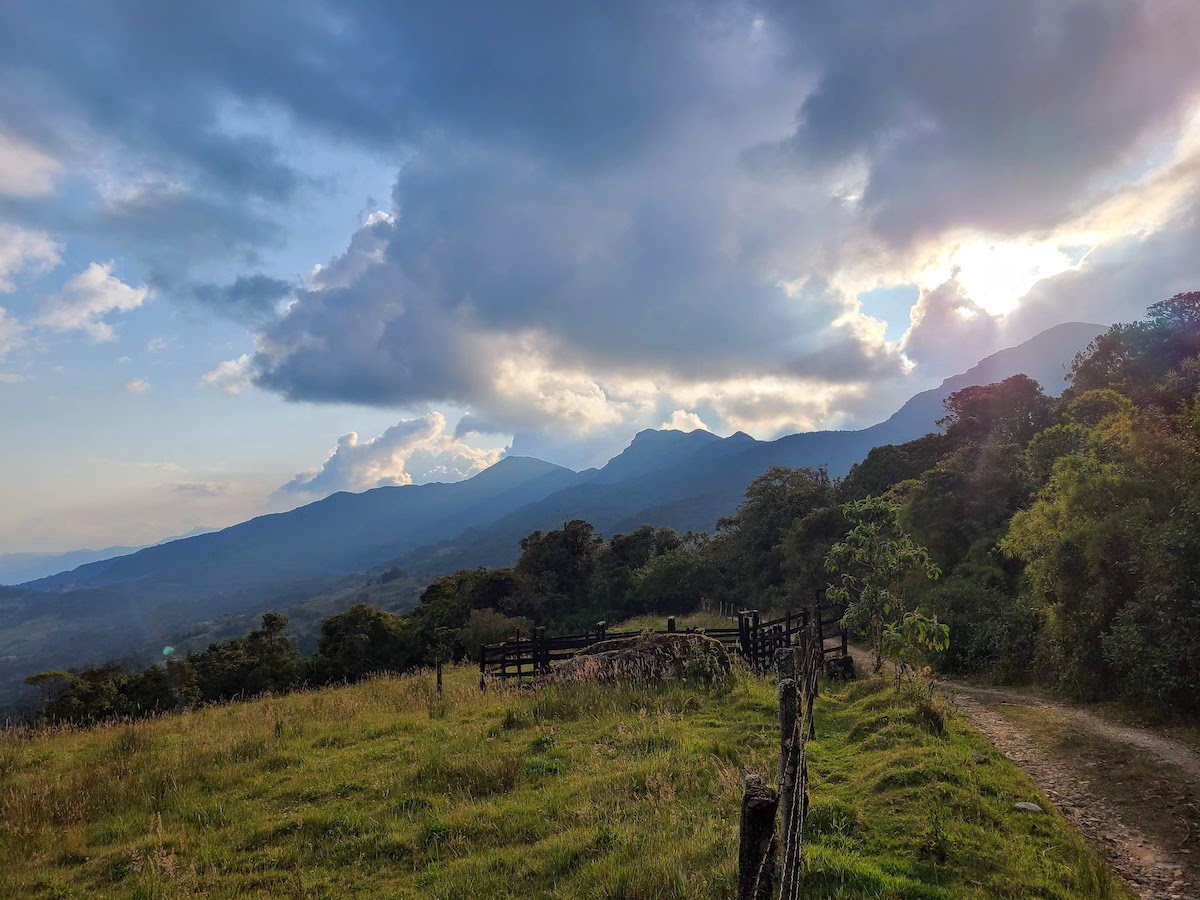
Day 1 – Arrive in Coyhaique

I flew into Santiago, Chile and then took a domestic flight to Balmaceda (BBA), the airport near Coyhaique, Aysen, Chile. I spent one night in the Hostal El Nevado.
There’s not a ton to do in Coyhaique. It tends to be more of a stopover/start/end point for your trip. It’s likely the biggest city you’ll visit during your time in Patagonia, so it’s a good place to stock up on food and pick up any supplies you may have forgotten or need, like camp stove gas, hiking poles etc.
If you want to spend a few days here, the downtown square is cute to walk around and has lots of cute things you can buy. I recommend merken (a spice similar to red pepper flakes) and calafate liquor or syrup.

Calafate is a native berry and legend has it if you eat one in Patagonia, you’ll come back! Certainly worked for me as I’ve been back over 5 times. The berry is edible around the end of January to March. You can also get a calafate pisco sour!
Where to stay in Coyhaique
- High budget: Click here to book The Patagonian Lodge. My parents stayed here a week and loved it.
- Low budget: Click here to book Patagon backpackers hostel. It has both dorms and private rooms.
Days 2-5 – Cerro Castillo Trek

The bus station in Coyhaique is located here. There are many bus companies here and most have signs posted with the destination, schedule, and even the price.
The next morning, I took a bus heading south to start the Cerro Castillo hike. I told the driver to let me off for the hike and about an hour later I was dropped off on the side of the highway!
The Cerro Castillo trek is a demanding yet rewarding multi-day hike through Patagonia’s rugged landscapes. It can be completed in 3-5 days (I did it in 3, but recommend 4 so you have time to do the short “day hikes” along the way. Read my full post about Cerro Castillo here.

Since I completed the hike a day earlier than planned, I spent two nights in the town of Cerro Castillo. There are several hostels and campgrounds in this little town. For most, you’ll need to use google maps and contact each individually to comapre prices. You’ll also have no problem just showing up and finding a place when you arrive.
Where to Stay in Villa Cerro Castillo
- High budget: Book Refugio Austral Calafate in Patagonia here. This is a bit outside the city, so probably best if you have your own vehicle.
- Mid to low budget: I stayed at Senderos Patagonia when they only had campgrounds, but now they have dorms. You can contact them on their website here.
Day 6 – Cochrane
After Cerro Castillo, I continued by bus to the town of Cochrane, Chile. It’ll take about 7 hours. If you have additional time, Puerto Rio Tranquilo and a trip to the marble caves are worth the stop.
If you’re pressed for time, you could hike out early on day 5 and catch a bus that same day to Cochrane. You can talk to the bus companies in Coyhaique to pre-arrange your fare and find out when they’ll pass through Villa Cerro Castillo.
Where to Stay in Cochrane
Days 7-8 – Villa O’Higgins
I only stayed one night in Cochrane and continued on by bus to Villa O’Higgins. I spent a couple nights this small town before crossing the lake to continue on to El Chalten.

There are a few things to do here. I took a flight over the Southern Patagonian ice field, one of the largest in the world. I hiked up to the Mirador la Bandera, a scenic viewpoint with a Chilean flag, accessible on the east side of the city. Finally, the annual costumbrista, a local festival, was going on while I was here so I also went to that.

There is another hike in the area that looks really beautiful if you have extra time and energy.
Where to Stay in Villa O’Higgins
- High budget: Hostal Entrelagos (no website but can be found on Google Maps)
- Low budget: El Mosco is the popular backpacking campground and dorm rooms (no website but can be found on Google Maps)
Days 9-10 – Cross into Argentina

After two days, I took a 20 minutes bus ride to the end of Austral Highway! Then a ferry from Villa O’Higgins across the lake to Candelario Mancilla. After eating lunch at the family’s home (there’s only one family in the town), I hiked 16km across the border to Argentina.

The first 16km/10mi on the Chilean side are pretty easy along a dirt road. The remaining 4km/2mi on the Argentinian side are more of a typical trail and parts were very muddy.
I didn’t quite make it all the way to the border and ended up camping in the woods – the mosquitoes were pretty horrific, but this was the only time I really encountered them.

The next morning, I hiked the remaining 4km/2mi to the border crossing and completed immigration. From here, you can either hike 11km/7mi around the lake or take a $40 USD boat ride across. I opted for the free hike.

There’s a parking lot at the end of hike so I hung around and asked for a ride. It didn’t take too long for me to find a family in a Veterinary truck willing to take me back to town. This was my first time ever hitchhiking!
Once I got to town, I found a hostel and ate a big pizza all by myself. I ran into someone I met during the border crossing and she decided to come with me for part of the El Chalten trek.
Where to Stay in El Chalten
- High budget: Book Cabanas y Posadas El Barranco here
- Low budget: Patagonia Hostel can be booked here
Days 11-14 – Hike in Los Glaciares National Park (Mt. Fitz Roy)

Piedra del Fraile Campground
The next day, we hitchhiked back towards the lake a bit to the trailhead of Piedra del Fraile. It took a bit longer to get a ride today and she and I had to split up.
After an easy two hour hike, you get to the campground. It even has hot showers! There’s also a restaurant. An instant coffee cost $4 back in 2017 so can only imagine now. But it is in an isolated beautiful place so comes with the territory.

The next morning we hiked straight up to Paso Cuadrado, which is supposed to have the best views of the park you can get without climbing gear. Unfortunately for us, it was sleeting when we got up there! Still, were able to enjoy a bit of nice views. The hike up took 3 hours and about 2 to get back down.
Poincenot Campground

When we got back down, we took the Piedras Blancas trail to get to Poincenot campground. The White Rocks glacier was very pretty and one of the most memorable parts of my trip. The hike to get there was a bit treacherous and involves some rock scrambling which is not the easiest with a 40+ pound pack. Although it looks like trail improvements have been made.
We got to Poincenot around 8:30pm after a little under 10 hours of hiking (total, including the morning hike).

The next morning we got an early start to head 45 minutes up to Laguna de los Tres, unfortunately we had windy and rainy weather again so did not get the iconic picture of Mt. Fitz Roy.
Agostini Campground
After eating lunch, we hiked over to Agostini campground. It was a very pretty hike around several lakes to get there. Unfortunately, both peaks were still obscured by clouds.

Lago Toro and the Huemul Circuit
The next day was a long one. I wanted to do the first leg of the huemul circuit (didn’t have enough time to do the whole thing) and there’s no direct route, so I had to hike 2 hours back to town – where I had fantastic empanadas – and then 16km/10mi out to Lago Toro. I wanted to go out this way because it is more remote and there’s a better chance of seeing wildlife. There definitely were less people, but no wildlife for me (mountain lion or huemul deer).

However, Lago Toro didn’t impress me too much (although maybe I was jaded at this point). Since I only had one night, I would’ve much preferred to not hike all the way down into the valley, instead staying up in the woods overlooking it (wild camping is not allowed).
But I will say, researching this hike again really makes me want to go back and do the full Huemul Circuit. Definitely check it out if you have time.
On my last day of hiking I finally had clear sunny skies! I was tired and didn’t leave camp until 10am. During the hike, I briefly got to see a huemul (an endangered deer)! I pretty much just saw its butt jump through some bushes, but I was happy nonetheless.

I dropped my pack at the base of the trail up to Loma del Pliegue Tumbado and raced up top. I did the whole hike from Lago Toro, what I’m estimating to be at least 8 kilometers, in just under 2.5 hours.
I got up this entire thing in 16 minutes. See the tiny people about a third of the way up? It was big. I had food and a time crunch to catch my bus motivating me. Sadly, my blue skies had disappeared, but Fitz Roy at least was finally in full view!

Day 15 – Bus to El Calafate
I finished out the hike and got some food before my evening bus ride. I arrived in El Calafate around 11pm and stayed at Buenos Aires hostel.
This marked the end of my backpacking trip. I walked a total of 376,158 steps, 159.2 miles in 14 days. This averages out to 11.37 mi/day, and would be even more if I took out my traveling days. As sad as I was to be done, my feet were relieved. If you saw all the bruises covering my body, you would think I fell down from the top of Fitz Roy!

Days 16-17 – Puerto Natales & Punta Arenas
The next day I took an afternoon bus to Puerto Natales and stayed at Kiooshtem Hostel. I woke up early the next day to take another bus to Punta Arenas to catch my flight back to Santiago. This was definitely a risky plan and left me pretty much no leeway if things went wrong. So while it worked out for me, not sure I’d recommend it to others. Depends on your risk aversion haha.
Would you go?
Looking back on this, it was such an amazing trip and I am so impressed with my younger self. I remember thinking at the time that it wasn’t that big of a feat. I even wrote “16.5 miles in 7 hours isn’t very fast.” I’m sure there are some people out there that would agree, but now I could never match that pace! It is giving me some much needed motivation.

I know this route doesn’t cover Torres del Paine, but I was afraid it’d be too built-up and crowded. I was really wanting to experience the remoteness of Patagonia and I think I did to some extent, but I’ve also travelled to even more remote areas since!
Where are the birds?
This trip was taken before I was into birding so I don’t have any recorded species. However on other trips to Patagonia since then, I’ve seen many Magellanic woodpeckers, Andean condors, Sierra Finches, flamingos and more. I’ll write a birdier post soon!